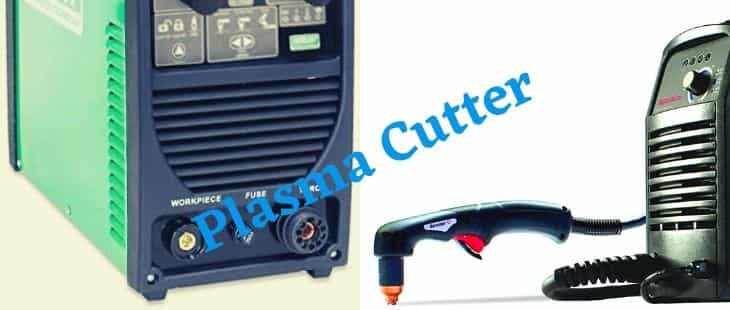
Introduction-
Generally speaking, it is simple to cut using a plasma cutter. However, getting optimum performance from a plasma cutter will require adopting certain practices. Several factors have a crucial role for a clean and fine cut, such as consumables, technique, travel speed, distance from the cutting surface, etc. Here we will discuss some critical measures that help significantly improve cutting precision and efficiency. Also, we will discuss some tips to extend the lifetime of a plasma cutter and consumable items.
Installation, parameter setting and test run-
After purchasing a plasma cutter first and foremost thing a user must do is thoroughly read the instructions manual. Reading the instructions manual is a vital step that will help familiarize yourself with a specific plasma cutter. There is no alternative to reading the instructions manual. After meticulously reading the instructions manual, go by the following steps to achieve the best cutting experience
Also read: How to Test Your Sump Pump – Do it Best
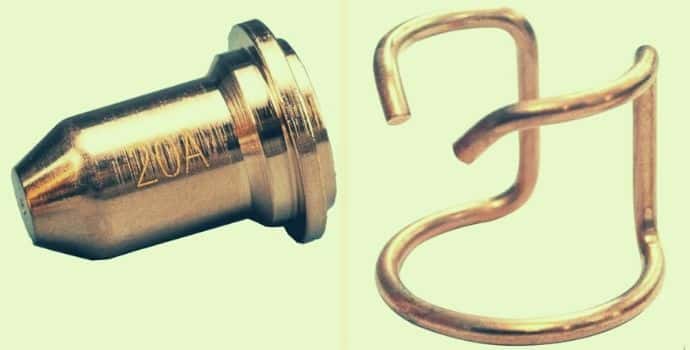
Image: Plasma Cutter Tip & Standoff Guide
Plasma cutter tips selection guide-
Through tip, the plasma beam focuses on the work surface. There are several types of plasma cutter tips such as 80-Amp tips, 40-Amp tips, extended version tips having an extra reach, and gouging tips.
Low amp tips have a narrow orifice, so they deliver a narrow plasma beam that fits for cutting thinner material. However, to cut thicker material it is advisable to use high amp tips.
Applying 80-Amp to 40-Amp tips will distort the orifice requiring an exchange. A lower amp setting on 80-Amp tips will produce a less focused plasma beam leading to broader kerf.
For cutting in tight areas, corners, patterns requiring extended reach, it is recommended to use extended tips.
Gouging tips deliver a wide plasma beam that can dislodge a large amount of material in one go.
What it takes to prolong consumable life-
The use of clean, dry air will significantly extend consumable life. It will make consumables run up to two hours of continuous cutting. If the pilot arc is continuously restarted by repeatedly triggering the torch, consumable life will shorten. Avoid direct touching the tip to the workpiece without using a drag shield. Direct touching will reduce consumable life and affect cutting quality. Also, direct touching will result in double arcing.
How to use plasma cutter drag shield-
Plasma cutters often come with a drag shield that needs to place on the work surface while cutting. Drag shield helps maintain an optimum standoff at 1/8", perfect for shaky hands. Retaining optimum standoff is also essential for cutting patterns. The use of a drag shield prolongs tip life. When cutting without a drag shield, the distance between the tip and work surface should keep at 1/16" to 1/8". However, if the distance between the tip and cutting surface exceeds 1/16" to 1/8", the machine's cutting capability falls drastically.
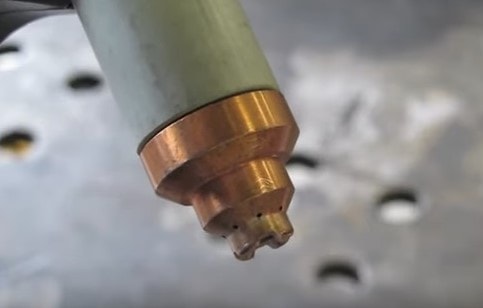
Image: Drag Shield
Positioning of operator hands-
When there is a need for a high precision cut or a drag shield not in use, it is preferable to place the non-cutting hand under the gripping hand. The supporting hand position acts as a guide for the acting hand. This process helps to steady the acting hand, maintain a fixed standoff distance, and provide better freedom of movement
Plasma cutting angle-
The torch should be as vertical as possible to the workpiece during cutting (except in bevels). While piercing a thin surface, the arc may punch through and start to cut with a bit or no backsplash. Whereas for thick surfaces, the torch starting should be at a 45-degree angle for allowing the first blasting metal to move somewhere. Otherwise, splashing metal will get back and rapidly wear out consumable parts. Completing a cut in one continuous run will produce a fine and cleaner cut. While starting an arc in the middle of a cutting will make it harder to deliver an even and clean cutting.
Direction of plasma cutting-
Human body mechanics is more comfortable pulling a plasma torch than pushing it. Plasma cutting can be done either right to left or left to right. When planning a project, this factor needs to examine. The edge of a plasma cut will have both straight marks and beveled marks. Plasma exits torch tip in swirling shape. Plasma hits the surface on one side and exits from the other.
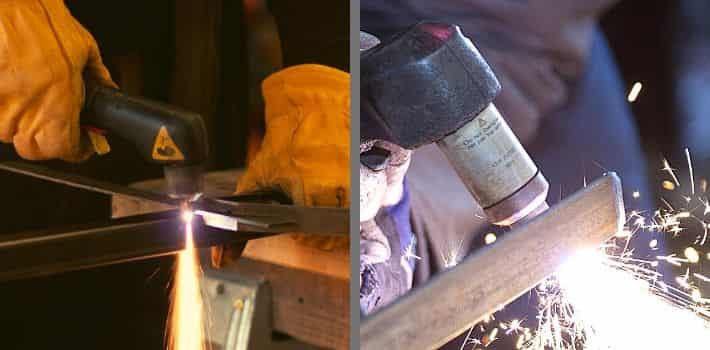
Image: Plasma Cutting Angle
Plasma cutter travel speed and amperage-
The instructions manuals may contain a comparison chart for travel speed in inch/minute versus material thickness. Quick traveling of the torch will provide a cleaner cut (especially for aluminum). If cutting is done at the right speed, all the sparks and dross will drop on the floor. When cutting thicker material, the machine should be set to the highest output and vary the travel speed. While cutting thinner material, using a lower-amp tip with a low amperage setting will keep a narrow kerf.
Angle of the exiting arc-
Sometimes the user may travel too slow or too fast. So, to work out an optimal travel speed, the user may visually inspect the exiting arc at the bottom of the cutting surface. The arc exit should have a 15-20-degree angle towards the floor opposite the travel direction. A straight downward arc exit will indicate the user traveling too slow, helping excessive dross or slug accumulation. If the user travels too fast, the sparks will spray back, making the cutting improper.
Ending a cutting-
Plasma cuts at an angle. So towards the end of a cutting surface, the user has to slow down the cutting speed and angle back the torch to get a drop cut through the end. Otherwise, if the torch is still vertically positioned at the end, the corner might not get cut but might hang instead. In that case, use a hammer to knock down the piece.
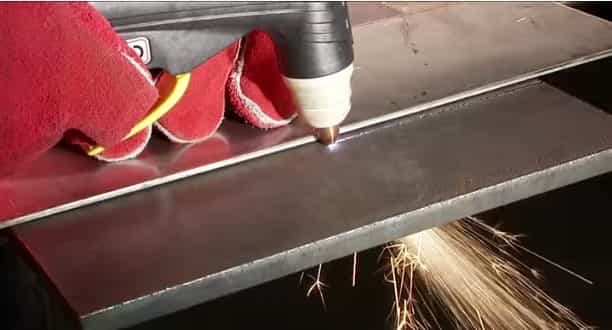
Image: Plasma Cutting Guide
Use of cutting guides-
The user can use a marker to mark the cutting surface. For cutting in a straight line, a straight edge may be put on the workpiece guiding the torch. Aluminum is preferable as a guide since it is non-flammable and has a plain surface. Aluminum is electrically conductive so, it should not touch the torch tip. It is only allowed to touch the drag shield or torch cup. To get precise cutting, straight and circle guides are available.
Final words-
Our humble advice for plasma cutter users would be to become familiar with plasma cutter operation. Thoroughly read the instructions manual and try the hints pointed out in this article. We believe plasma cutter users will benefit from the technical details here and achieve optimum performance, enhanced efficiency, and low-cost plasma cutter operation.
Related Reading
- 10 Best Plasma Cutter 2024 – Reviews and Buying Guide
- Hypertherm Powermax Maintenance Guide
- Hypertherm Powermax 45 XP Review – Latest Update
- Hypertherm Powermax 30 XP Plasma Cutter Review – Best Guide
- Miller Spectrum 625 X-TREME Plasma Cutter Review & Guide
- Hypertherm Powermax 30 Air Plasma Cutter Review & Guide
- Plasma Gouging with Plasma Cutter
- Hobart Airforce 12CI Plasma Cutter Reviews & Guide
- Miller Plasma Cutter 375 Reviews – Definitive Guide!
- Plasma Cutter Guide – System Requirements And Cutting Procedure
- Plasma Cutting Consumables – An Expert Guide
- What Is Plasma Cutting – How Does It Work?
